Comifuro23 is less than two months away. During this time, you’d most likely see a lot of artists opening preorders, ordering test prints, gathering their items, establishing stamp rallies, and many more. If you’re a beginner artist (or maybe you’re not, and this is simply your first foray into the artist alley scene), everything might seem very overwhelming.
“What do I do?”
“Where do I start?”
“Why is everything so difficult?”
Fret not! We are here to help! Here, we’ve gathered a number of resources and tutorials that can hopefully provide more insight and lessen your workload during this busy season. We tried to prioritize resources from fellow Indonesian or Asian creators in this list in the hopes that this can also be a meaningful exchange of support between the local community. Let’s start with the merchandise itself!
Merch
If you’ve decided on boothing in a convention or market, you most likely already have a rough idea of the merchandise you want to make. But now the confusing part is scheduling and making the merch!
Doujin Techo
Doujin Techo is a Japanese website that helps you calculate your schedule for creating a new doujin/book. The website assists you in planning your days according to your usual workflow and working hours with the goal of completing a book by a predetermined deadline. Although it was primarily created for the creation of doujins, we have seen people say that they can reframe it to help them schedule their other merch-making activities as well!

(Image taken from Doujin Techo's website)
Acrylic Mockup Auto-Action
This is a widely known asset that a lot of artists probably already know of, but there’s no harm in resharing. This acrylic mockup auto-action for Clip Studio Paint is an absolute godsend for making keychain or standee mockups. It’s completely free in the Clip Studio Paint Asset Store and once you’ve downloaded it, all you need to do is click on the auto-action. It creates a really nice and realistic acrylic effect on your artwork.
For more info on how to use the auto-action feature on CSP, please see here.
Clasp and Ring Asset by Poppy Studio
Poppy Studio has a large collection of clasp assets starting from simple jump rings to star or heart-shaped clasps that are perfect for your acrylic merch mockup! All of the assets are in PNG format so you can use it in all programs. They will also be releasing new clasp designs so there will be a total of 13 different clasps (and two of those are completely free)! It also so happens that Poppy Studio is currently hosting a sale on VGen! All assets on VGen are 50% off during the entire month of September.
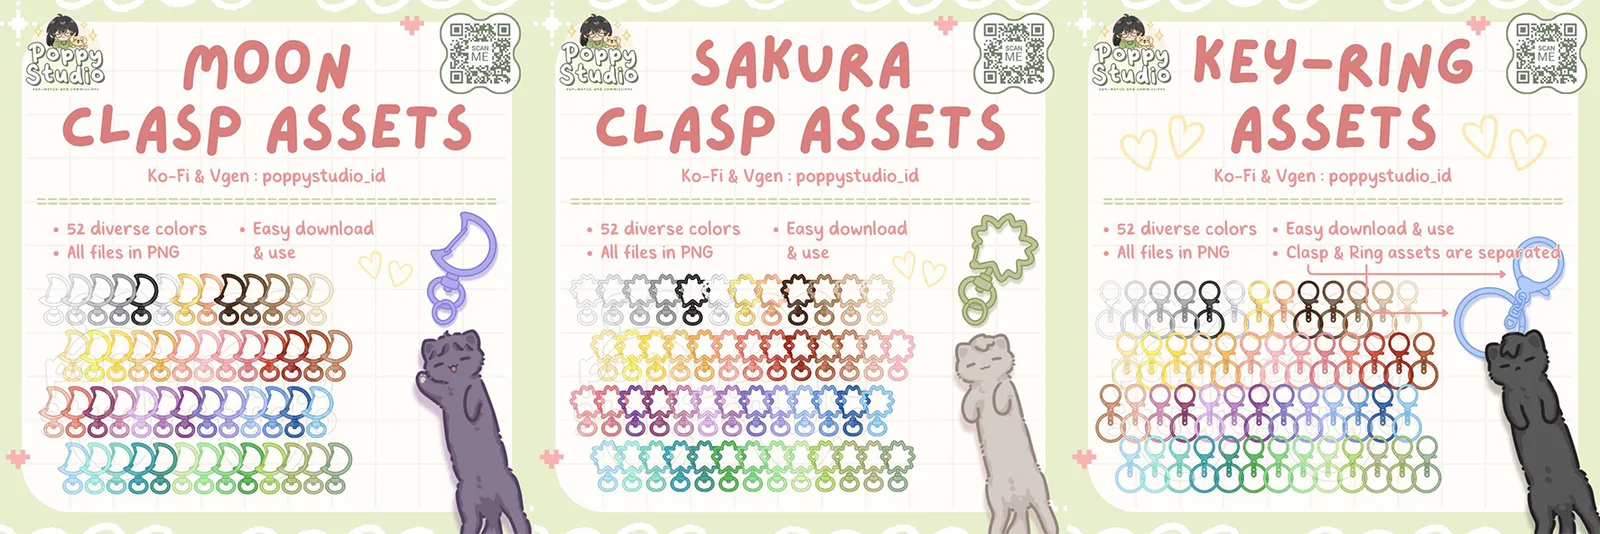
(Image from Poppy Studio)
Ibispaint Clasp Stamp by Takaba3150
If you prefer a more native option for your clasps and you happen to use Ibispaint, check out these clasp mockup stamps by Takaba3150. They’ve shared the QR code for the stamps on their X account and it’s all entirely free to use!
Pricing and Invoices
How to Count Selling Price Tutorial by Maowtcha
If this is your first time selling things and boothing, you might be confused on how to price your items. Do check out this thread by maowtcha that helpfully breaks down all the costs that go into a merchandise and how to use that to calculate your selling price!
One-Click Invoice Tutorial by Aninbikinin
Once you start getting pre-orders, you might find it difficult to keep track of each order and create separate invoices for each buyer. Look at this tutorial by Aninbikinin to learn how to create an automated invoice on Google Sheets! The formulas used are fairly simple and the tutorial is easy to follow. It might take a while to set it up in the beginning, but it’s bound to help you in the long run.
Invoiceku by KEN2KIE
Invoiceku is an invoice generator web app by KEN2KIE. The web app runs on its own, is not linked to any spreadsheets, and has customization and branding options! For a tutorial on how to use the Invoiceku, check this X thread by the creator.
Invoizy
Invoizy is a digital product that automates your pre-order system. It can help you to generate order forms, automatically create and send invoices, and provide batch recaps and reports. The product has multiple tiers and is priced at Rp59.900 at the lowest. Multiple artists have given their reviews that Invoizy has helped them cut down their time and workload significantly. We believe this will be perfect for artists who have been selling quite regularly!

(Image from Invoizy's website)
Booth Display
Now that merch and pricing are out of the way, the next step is figuring out how to handle your display. Seasoned creators most likely already have their own setup that they’re comfortable with, but if you’re new, it will likely be difficult for you to gauge what item goes where and what kind of display equipment you need to invest in.
CircleKit by Allennoir
CircleKit is a tool for designing merch and booth mockups. It runs locally on your browser and has various options of merch and display items to choose from. All measurements are also displayed accordingly to scale so you can see how your merch really looks like against your display. It’s a great tool for you to create a mockup of your booth and plan your entire display. If you’re new to the artist alley scene, this tool can potentially help you in estimating how much of a certain display equipment you need to buy. The best part is, CircleKit is entirely free to use! You can help support the developer directly by donating to their Ko-Fi!
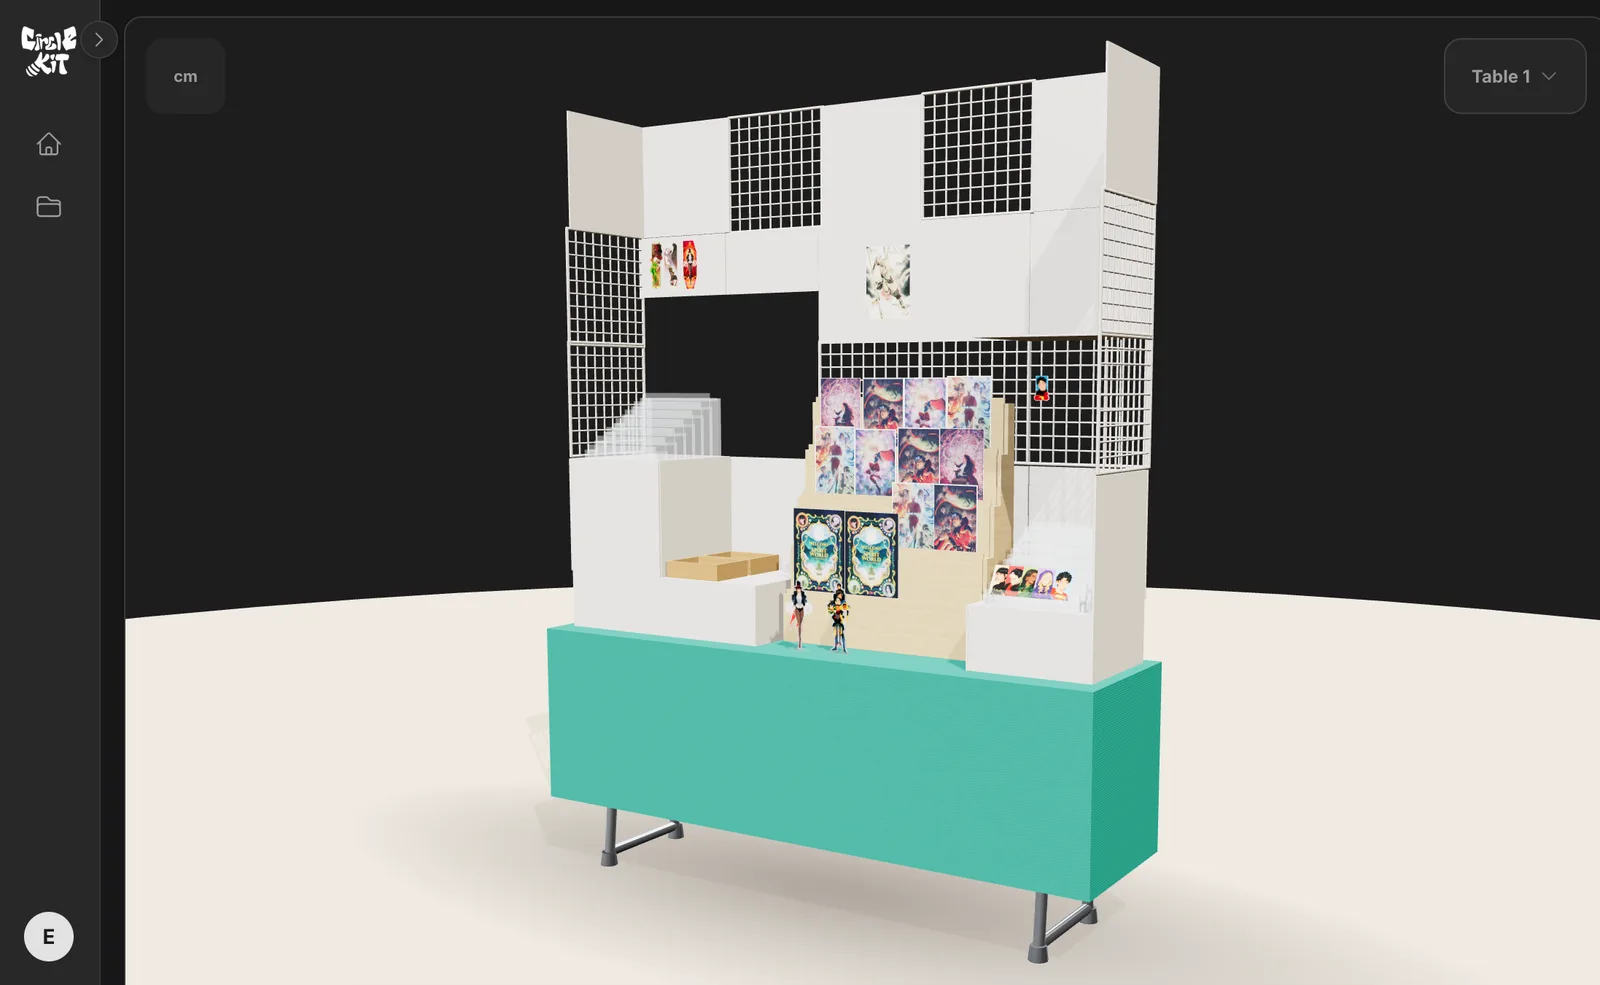
(Image is a screenshot from writer's CircleKit account and features the writer's mockups)
Boothmate
Boothmate is a Point of Sale (POS) program. Unlike most other POS applications, Boothmate is created specifically with artists in mind, which means features such as circles, stock-tracking, and currencies (to name a few) are crafted for utmost ease during convention days. The app is free on both the Apple App Store and Google Play Store with a paid option if you’d like to upgrade to more circle members and extra features.
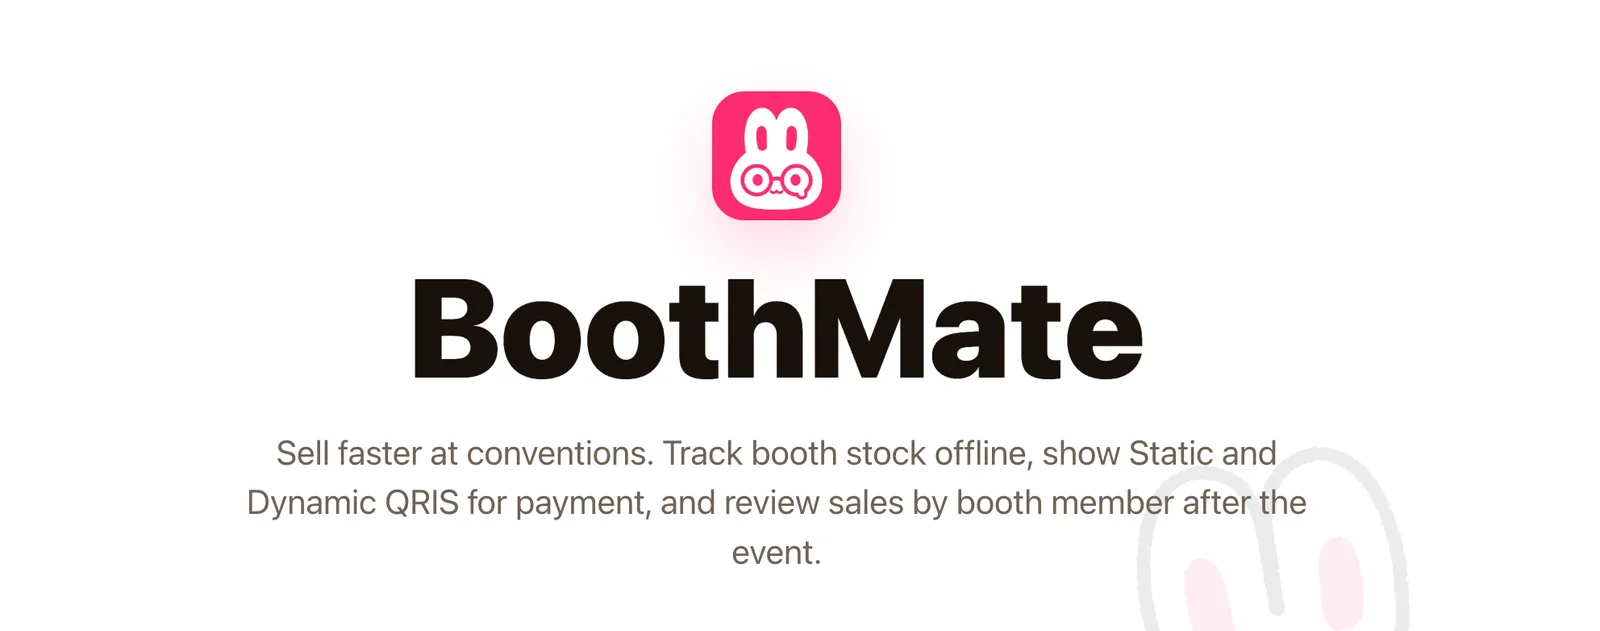
(Image from Boothmate's website)
Commonly Used Display Equipment
If you’re lost on where to find display items and equipment, here are a few links! Disclaimer: all links below are affiliate links which means we get a cut for every sale you make using our links. There is absolutely no obligation for you to shop using our links, but if you do, it will be very much appreciated and all money gathered will be used to support our daily operations and keep everything running.
-
Grid: typically used as the base structure for your entire display.
-
Grid Hook: hooked onto your grid and useful for you to display keychains
-
Hanging shelf: it can be hooked onto your grid and gives you extra space to place items that you otherwise can’t hang
-
Pegboard: an alternative to the usual grid. It’s a lot thicker and opaque compared to a grid.
-
Acrylic rack: it’s typically used to display photocards, sticker sheets, or other small paper-based goods
-
Wooden rack: an alternative to the acrylic rack. Depending on the size of the rack, it can also be used to display books and zines
-
Wooden dish rack: although this item was actually created to dry dishes, many artists have taken to using it as a tool to display their art prints
-
Acrylic clip: this clip can be used to display your prices or any other signage
-
Metal clamp: very multifunctional. It may come in handy when you’re trying to hold your display together. Most artists also use strong clamps such as these to clip the fabric covering for their booth when they leave it for the night
-
Foldable storage: in front of the booth, you can use storage boxes like this to store your stickers, charms, or any kind of small merch you can think of. Behind the booth, you can also use it to store your merch stock
-
Expanding file: a file or folder like this is usually used to store your art print or photocard stock. It’s easy to bring around and doesn’t waste space
That’s all from us. Thank you for reading this far and we hope the information in this blog post can be useful for you! See you in the next convention!
Written by: Eileen Widjaja | September 2026